April Birthdays:
Xavier P.
- Robert C.
- Sienna M.
- Alejandra B.
- Briana F.
- Matthew B.
- Maygin V.
- Calan W.
- Angelina U.
- Hayden C.
- Niki P.
- Janelle S.
- Bryce A.
- Anke M.
- Giuliano L.
- Caden G.
- Seojin H.

Storytime Announcements
starting for the new year on January 10th!
Storytime: 5:30 pm EST Thursdays
and 11:30 am EST on Fridays
Cindy Cancel is inviting you to a scheduled Zoom meeting.
-
Or iPhone one-tap (US Toll): +16465588656,7664927111# or +14086380968,7664927111#
Or Telephone: Dial: +1 646 558 8656 (US Toll) or +1 408 638 0968 (US Toll)
Meeting ID: 766 492 7111
-
Chef's Corner!
Bunny Nests
You can do this recipe with the coconut nests, or with Rice Krispies treats (these are easily made vegan)!

Ingredients:
- 4 egg whites
- 1 tablespoon sugar
- 1/2 teaspoon salt
- 1 package (14 ounces) sweetened flaked coconut
- 1/2 cup white chocolate chips (semi-sweet chocolate) melted
- 70-90 mini candy eggs
Instructions:
Preheat oven to 300F. Coat the cups in a mini muffin pan with cooking spray and set aside.
- In a large bowl, lightly whisk together the egg whites, salt, and sugar to combine. Then, with a fork, mix in the coconut.
- Drop two tablespoons of the coconut mixture into each prepared mini muffin cup.
- Lightly press the mixture into the bottom and up the sides of each cup (use your thumb). Bake for 28-30 min, until lightly golden on top. (Loosely place a piece of aluminum foil over the top of the pan if the coconut starts to brown too quickly.)
- Let the nests cool in the tins on a wire rack for about 10 minutes. Then run a spatula around the edges of the muffin cups to loosen the nests. Carefully life out the nests and allow them to cool completely.
- With the melted chocolate in a piping bag (or a plastic baggie with the corner cut off), pipe a smalla mount of chocolate into each nest. Add 2 or 3 candy eggs and press them gently to secure.
- Enjoy now or save and pack for later!
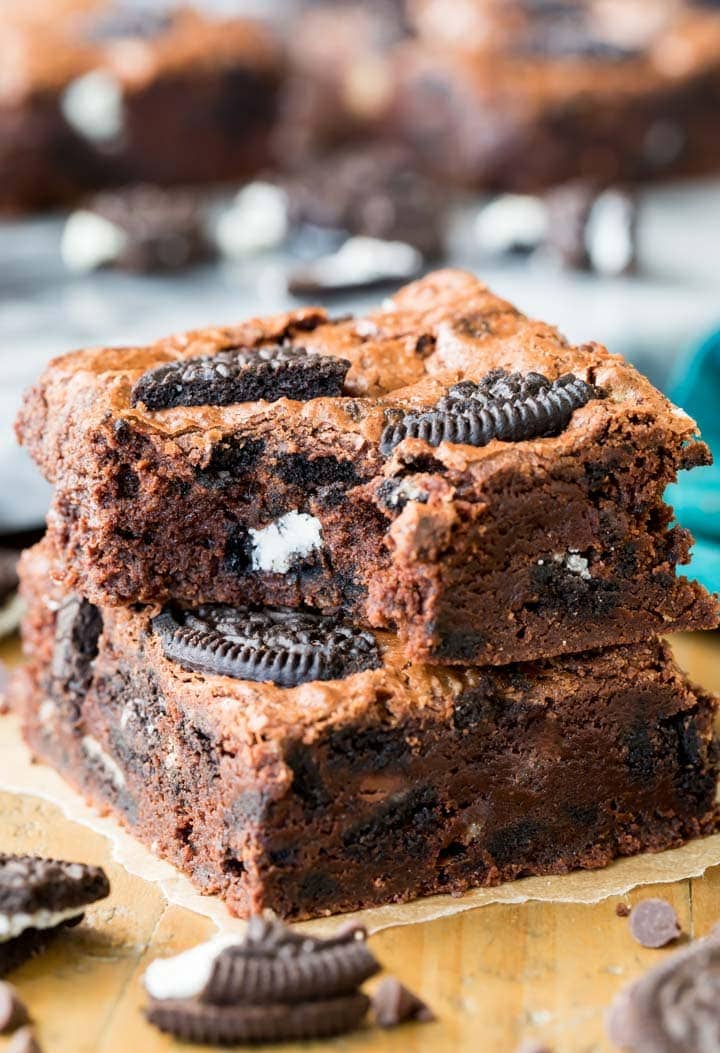
Creating in the kitchen is so much fun! You can share your pictures of your oreo brownies on griggs facebook page, or email them to me so that I can see your creation.
|
A Little Pick-Me-Up: Hope in Darkness
It was now about noon, and darkness came over the whole land until three in the afternoon, the centurion, seeing what had happened, praised God and said, “Surely this was a righteous man.”
For the sun stopped shining. And the curtain of the temple was torn in two.
Jesus called out with a loud voice, “Father, into your hands I commit my spirit.” When he had said this, he breathed his last.
The day Jesus died was a dark day. The Savior of the Jews, the world, was beaten, whipped and left to die, bleeding out on a cross. Every breath was an agonizing one as his disciples and those who followed him watched in horror as he slowly began to wither away. He took his last breath and they pierced his side to ensure he was dead. Then they took his body, prepared it and set it in a tomb. Can you imagine the sadness of those that day? A man who they had come to love was put to death for something he didn't do. He was innocent. It seemed like the darkness of that day would swallow them whole. But we know the story. Jesus would rise on the third day! Imagine you were him, and you woke up in complete darkness. The last thing you remember was your arms pierced through, struggling to breathe. You look at your wounds, and the scars alone remain. You appreciate the love and care your disciples took when they wrapped you, and so you say thank you to God for them. The next thing you do is get out of that darkness, it no longer has a hold on you. This is what Jesus offers. Freedom from our darkness, our sins, our past, the weight of death. Jesus pulled off the greatest April Fool's Joke of all-time! This Easter, contemplate on this and let's praise Jesus for all he has done.
Abnormally Hilarious April Fools Jokes
- Bring a box full of "Krispy Kreme" Veggies to work
- Bubble Wrap under a rug and you'll for sure frighten your pet!
- Frozen breakfast: parents, fill your children's bowl with their favorite cereal, milk and a spoon. Put it into the freezer overnight and see their reaction!
- Add a "please honk" to your friend/spouse's car which will make for an interesting day at work
- Make some "brownies" for dessert and cut out a brown E on construction paper and serve it after dinner! (Maybe you could follow up with some actual brownies later)
Craft/Science Project:
Easter STEM Project
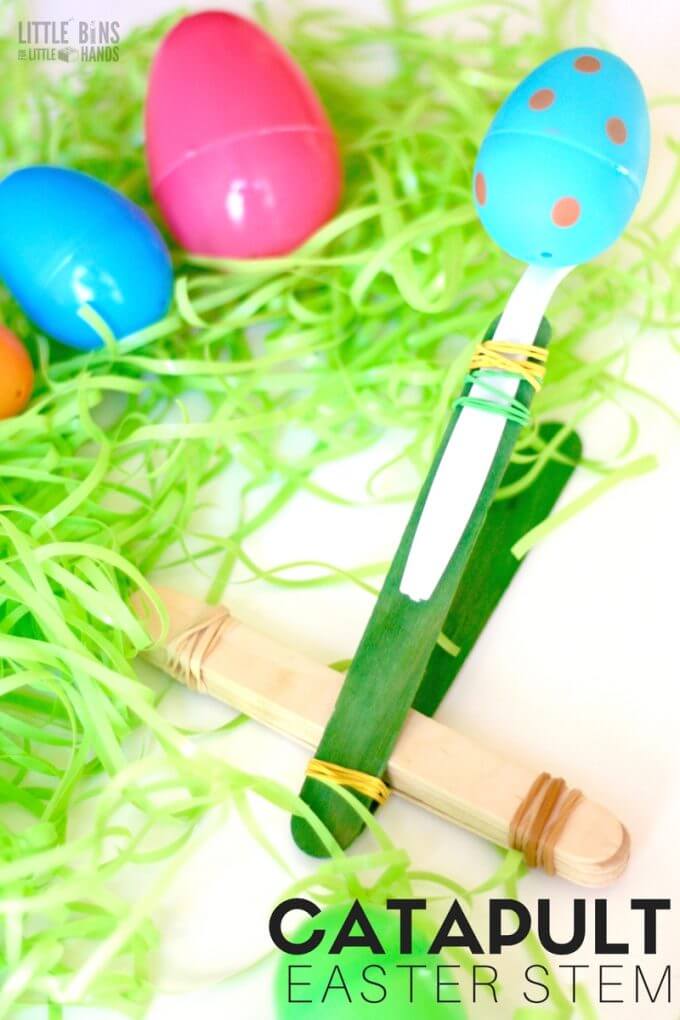
Study the laws of motion with this fun Easter activity!
- 10 Jumbo Popsicle Sticks
- Rubber Bands
- Spoon
- Plastic eggs (various sizes)
Instructions:
- Stack 8 jumbo popsicle sticks.
- Insert one jumbo popsicle stick into the stack resting on the top of the bottom last stick. Just a small portion of the stick should be through. This step can be done after the next if you wish.
- Tightly wind rubber bands around either end of your stack.
- Place the last jumbo stick on top of the stack in the same position as the stick that you have already inserted.
- Very quick and simple. You can add a spoon in a couple different ways or none at all as seen below.
- This is a great way to experiment with design and how it affects the motion of the catapult.
|